How to Propagate Clematis from Cuttings and Layering

2024-03-04
How to Propagate Clematis from Cuttings and Layering

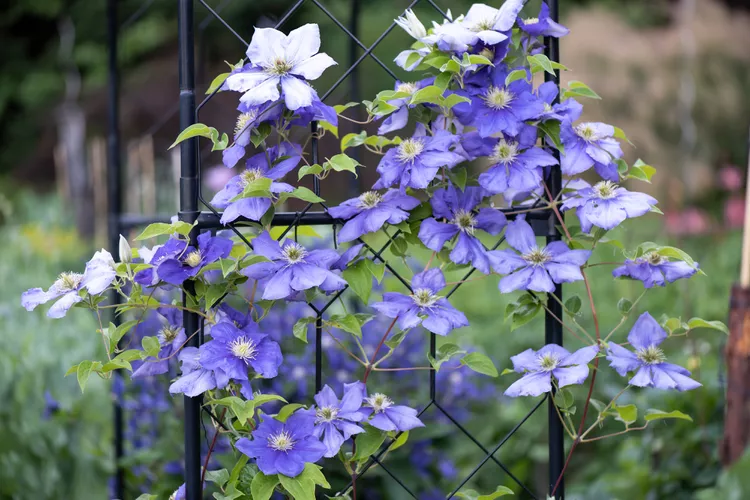
Create more of your favorite varieties for free by learning how to propagate clematis. These hardy perennial vines come in hundreds of varieties that offer a diversity of colors and forms. If you were to collect and sprout seeds from your clematis, you may get plants that don't look like your original plant. To grow new plants that look exactly like the original variety, two of the best propagation methods to use are cuttings and layering. Follow this simple step-by-step guide to propagate clematis vines from layered stems or by rooting cuttings.

Propagating Clematis by Layering

Perhaps the easiest and most natural way to propagate clematis is by layering. Layering is a process by which plants sprout roots directly from their stems upon contact with soil. This technique may not work as well in cold climates where stems die back to the ground each winter.

Step 1: Select stems to layer.

Identify new, flexible stems in spring and lower them to the soil surface, whether in pots or onto the ground. Depending on the stem’s length, you might be able to create multiple clones along the length of the stem.

Step 2: Prepare stems.

Using a sharp knife, make a small cut into one side of each selected stem where it will make contact with soil. You can also apply a little powdered rooting hormone to the cut part of the stem. 

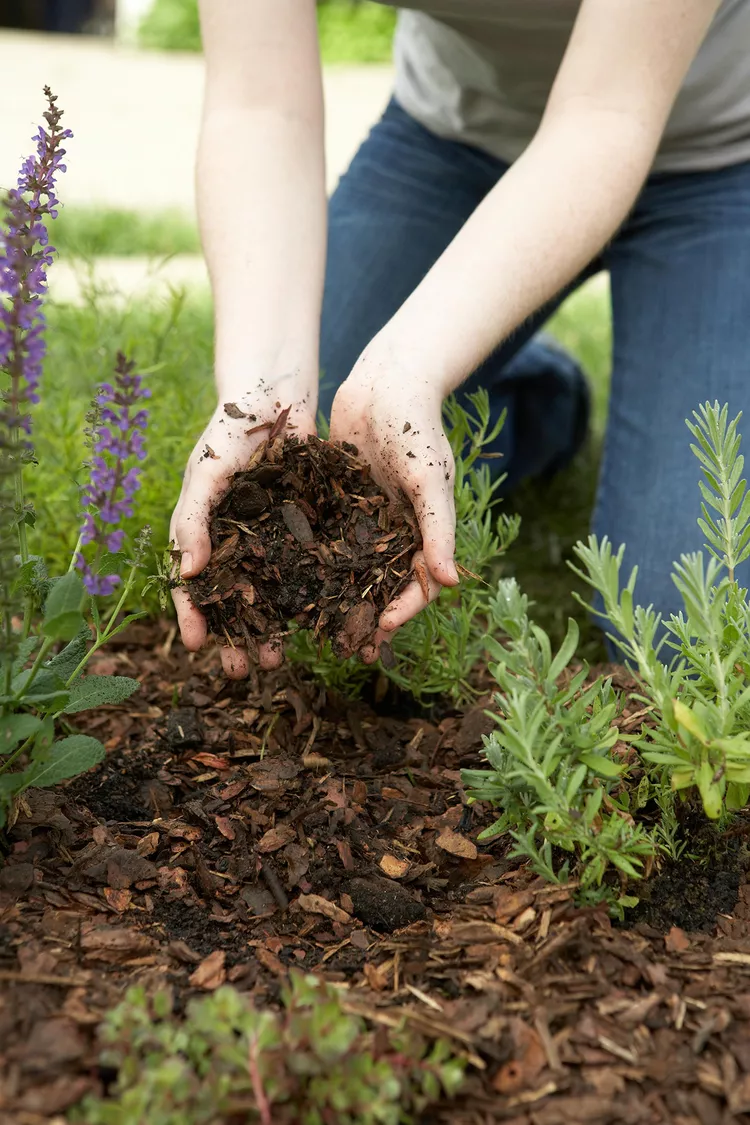
Step 3: Cover the stems with soil.

Whether in the ground or in a nearby pot, press the cut part of each stem against the soil and lightly cover with about a half-inch to an inch of soil.

Step 4: Secure the stems in place.

Hold the buried portion of each stem in place beneath the soil with a small rock, garden pins, or a broken piece of pottery. Repeat the process if a stem is long enough to produce more than one plant, spacing them at least 6 inches apart.

Step 5: Water and wait.

Keep the buried portions of stem moist and disturb them as little as possible.

Step 6: Watch for new growth.

Over the course of one or two years, plantlets are likely to develop. Once you see new growth, cut the stem that attaches them to the parent plant to create fully independent plants. Gently dig up the new clematis vines and move them to where you want them to grow.

Propagating Clematis by Cuttings

Stem cuttings are a great way to make more clematis plants that usually grow within a single season.

Not all cuttings will take root and grow, so take several for success. Less than 50 percent of cuttings taking root is considered normal.

Step 1: Select stems of new growth.

Take softwood cuttings from newer, softer stems in late spring. Identify stems that have just begun to harden for best results. These stems are ready and capable of producing roots of their own.

Step 2: Take cuttings.

Separate the chosen stem from the rest of the plant by cutting it off at the base.

Step 3: Remove leaves.

The stem consists of a series of nodes from which leaves sprout on either side every few inches. Remove the leaves at the base of each node along the entire length of the stem, leaving some leaves above each node.

Step 4: Prepare cuttings.

Cut the stem into sections 3 to 4 inches long, making the cut just below a node. Each section should have a node, a portion of stem, and one set of leaves.

Step 5: Apply rooting hormone.

Dip about 1 inch of each section into a rooting hormone, then let them sit for a few minutes until dry.

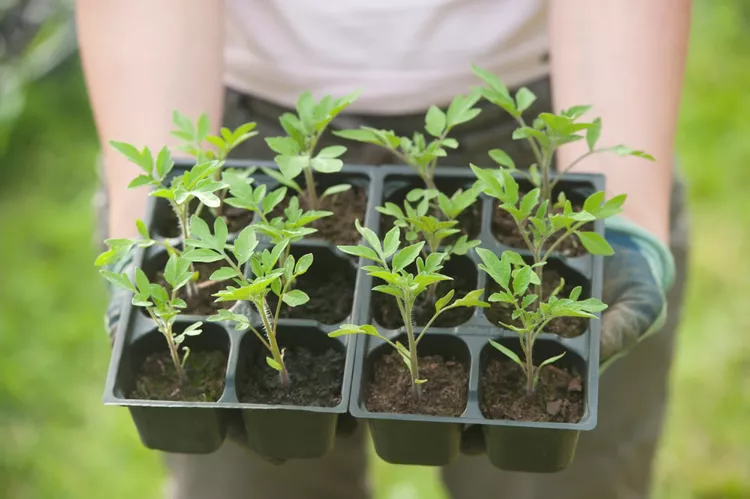
Step 6: Plant cuttings.

Prepare a 4- or 5-inch container of moist potting soil and poke holes along the edges with a pencil or pen. Gently place cuttings into the soil and press the soil against the stems, holding them in place. 

Step 7: Care for cuttings until they root.

Place the planted cuttings in bright, indirect light, dappled shade, or under artificial lighting, and keep the potting soil moist. Cuttings should root and begin to produce new growth within two to three months, depending on climate and other environmental conditions. 

Caring for Your Clematis Cuttings

Once the cuttings have begun to take root and grow, move them to individual pots and provide plenty of sunlight and moisture. Apply light doses of an organic fertilizer following the product instructions to help the new plants grow and prepare for the following season. 

As the clematis cuttings begin to mature in about a year, plant them in the garden. Established cuttings are just as hardy as their parent plants and need the same amount of care.

Related Article

These Winter Flowers Keep Your Garden Colorful Even When It's Cold

These Winter Flowers Keep Your Garden Colorful Even When It's Cold

If you live in the South or Southern California, opt for these winter-flowering annuals and perennials for a flourishing garden during the coldest months.
10 Low-Maintenance Small Shrubs for the Front of Your House

10 Low-Maintenance Small Shrubs for the Front of Your House

Enhance your curb appeal with these small shrubs that require little care. These ten options add greenery but won't take over your yard.
How to Plant and Grow Morning Glory

How to Plant and Grow Morning Glory

Growing morning glory adds vertical beauty to walls and trellises. Use this guide to care for this climbing vine so you can enjoy its beautiful pink, purple and white flowers.
This Cozy Corner Garden Plan Will Brighten Up an Unused Spot in Your Yard

This Cozy Corner Garden Plan Will Brighten Up an Unused Spot in Your Yard

This cozy corner garden plan will create a pocket of color in the unused spots in your yard.
This Drought-Tolerant Garden Plan Saves Water and Time

This Drought-Tolerant Garden Plan Saves Water and Time

This drought-tolerant garden plan won't require as much watering as thirstier plants. Use this design to create a beautiful garden that will thrive even through dry spells.
This Easy-Care Butterfly Garden Plan Will Attract Tons of Pollinators

This Easy-Care Butterfly Garden Plan Will Attract Tons of Pollinators

Use this gorgeous butterfly garden plan to create a bed of flowers that will bring beautiful and beneficial insects to your garden.
15 Container Garden Plants That Breeze Through Summer's Heat

15 Container Garden Plants That Breeze Through Summer's Heat

For container gardens that will look gorgeous even through the dog days of summer, try these plants that can take the heat.
6 Must-Know Tips on Mandevilla Care in Pots to Keep the Flowers Coming All Summer

6 Must-Know Tips on Mandevilla Care in Pots to Keep the Flowers Coming All Summer

Mandevilla care in pots is a little different than growing these gorgeous summer-blooming plants in the ground. Use these tips to keep your potted mandevilla plant thriving and flowering all season.
14 Unique Planters for Succulents You Can Make from Thrift Store Finds

14 Unique Planters for Succulents You Can Make from Thrift Store Finds

Transform flea market or antique shop finds like thermoses, light fixtures, and broken typewriters into upcycled garden ideas to house succulents.
6 Secrets to Starting Your First Vegetable Garden Off Right

6 Secrets to Starting Your First Vegetable Garden Off Right

Planting tomatoes, carrots, or cukes for the first time? Use this guide to help you plan, prepare, and plant a successful plot.
10 Best Sweet Potato Companion Plants for Larger Harvests

10 Best Sweet Potato Companion Plants for Larger Harvests

Mix and match these sweet potato companion plants in your vegetable beds for pest-free crops and easier gardening.
How to Plant and Grow Grapes

How to Plant and Grow Grapes

Grow your own grapes using these tips on how to plant the vines, prune them, and keep them thriving. Make your own jams, jellies and more.
How to Plant and Grow Lemon Balm

How to Plant and Grow Lemon Balm

Find key tips for growing lemon balm, a perennial herb whose oils are used for aromatherapy and leaves for flavoring.
When and How to Harvest Dill for Its Flavorful Leaves, Flowers, and Seeds

When and How to Harvest Dill for Its Flavorful Leaves, Flowers, and Seeds

This guide explains how to harvest dill so your plants stay productive for as long as possible, plus provides tips on the best time to pick dill leaves, flowers, and seeds.
How to Harden Off Seedlings Before Transplanting Them Into Your Garden

How to Harden Off Seedlings Before Transplanting Them Into Your Garden

This easy-to-follow guide on how to harden off seedlings will help you prevent transplant shock and give plants a stronger start in your spring garden.
How Often—and How Long—You Should Water Your Grass

How Often—and How Long—You Should Water Your Grass

Whether you water manually or you have an underground sprinkler system, follow our tips for how long and how often to water your grass to keep from overwatering your lawn.
How to Get Rid of Mushrooms in Your Yard: 4 Natural Solutions

How to Get Rid of Mushrooms in Your Yard: 4 Natural Solutions

Find out how to get rid of mushrooms in the yard by understanding why they are popping up. Then solve the problem naturally with this simple guide.
Follow This Summer Garden Checklist to Keep Plants Thriving All Season

Follow This Summer Garden Checklist to Keep Plants Thriving All Season

These guidelines will help you stay on top of summer gardening tasks and maintenance, keeping your plants colorful and thriving throughout the season.
Peach Tree Diseases and Pests

Peach Tree Diseases and Pests

Here's what you need to know about common peach tree diseases and pests and how to fight them.
12 Chicken Coop Ideas for Your Backyard Hens

12 Chicken Coop Ideas for Your Backyard Hens

These chicken coop ideas will help keep your flock safely contained while serving as an attractive addition to your landscape.